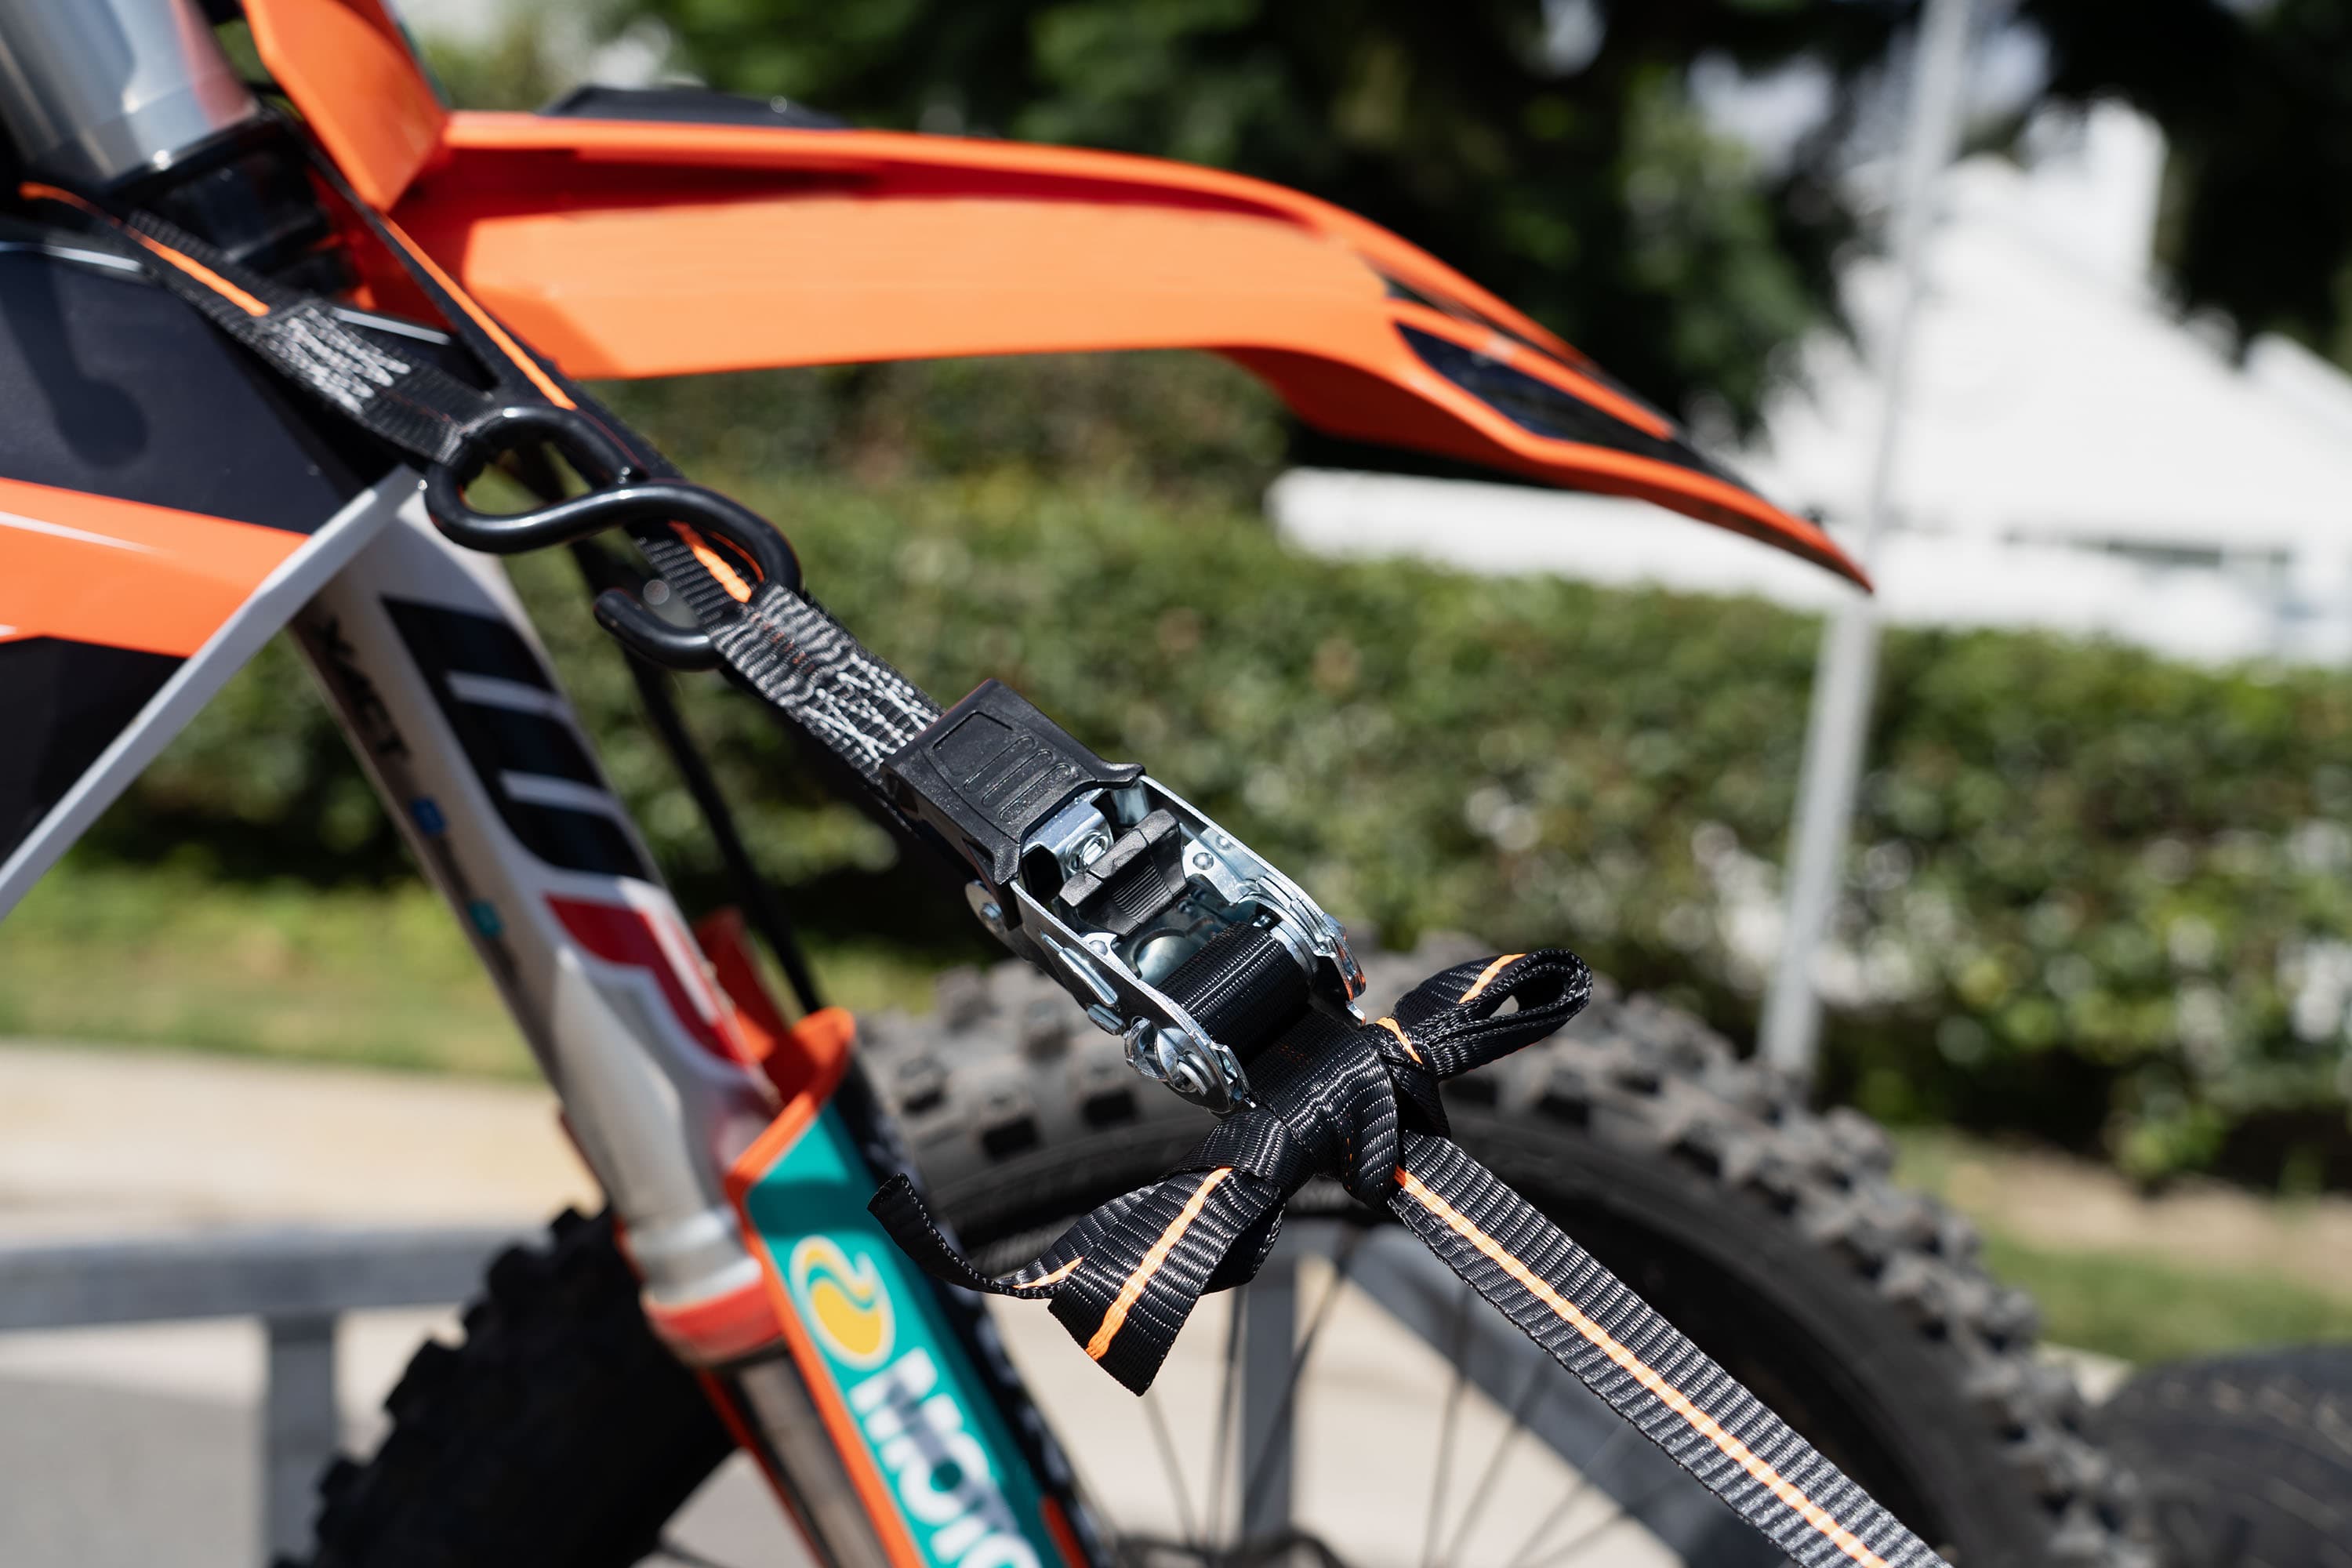
The 3-Step Strap Inspection Before Every Haul
09/23/26
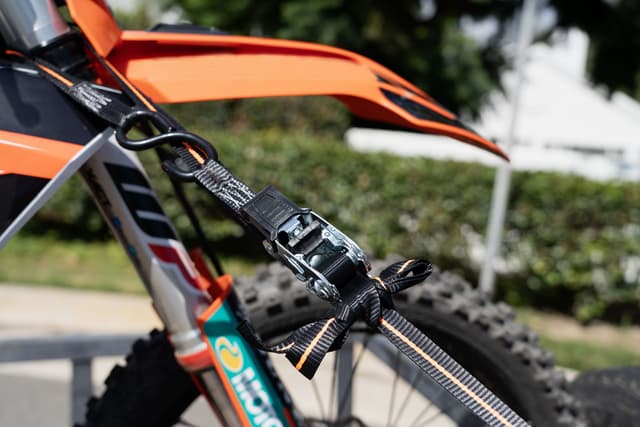
Whether you're hauling a riding mower across town, transporting lumber home from the hardware store, or heading to the trail with your ATV, your tie-downs are one of the most important pieces of safety equipment you use. But even the strongest ratchet strap won't keep your precious cargo safe if it's not in good working condition.
That's why experienced cargo-hauling veterans develop a simple habit before every trip: inspect your straps before you load up your cargo.
At Keeper, we call it part of the Tap the Strap routine—a quick pre-trip check that helps ensure your cargo stays secure from the driveway to your destination. Fortunately, a thorough inspection only takes a minute or two. Here's a simple three-step process to follow before every haul.
Key Takeaways:
- Inspect the webbing
- Inspect the hardware
- Verify the Working Load Limit
Step 1: Inspect the Webbing
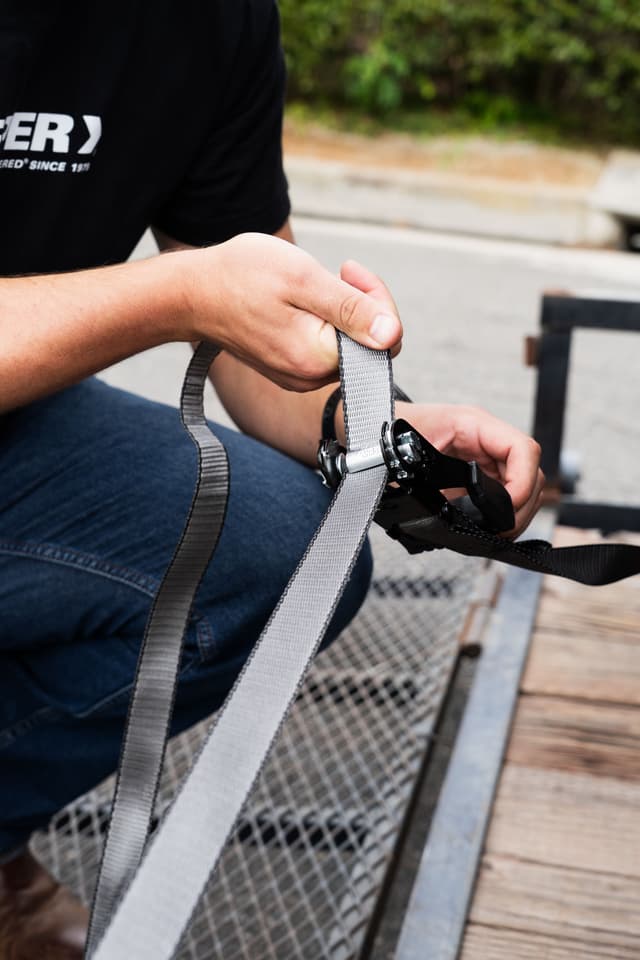
The webbing of a ratchet strap or cam buckle is the backbone of your tie-down system. While it's designed to withstand heavy loads and tough conditions, it can become damaged through normal use, exposure to the elements, or contact with sharp edges.
As you inspect the strap, look for:
Fraying Along the Edges or Down the Center
Small surface fuzz from normal use isn't unusual, but excessive fraying or loose fibers can indicate that the webbing has begun to wear down. This is incredibly common on the edges of the webbing, or at any point where the webbing consistently passes over an edge.
If the edges are heavily frayed or the webbing appears weakened down the center line, it's time to replace the strap. Keeper ExtremeEdge® webbing has coated edges which are 30% more cut-resistant and 67% more abrasion-resistant to help extend the lifespan of your straps. This patented and exclusive webbing is the best replacement for any frayed ratchet straps that are at the end of their lifespan.
Cuts, Tears, or Holes
Even a small cut can significantly reduce the strength of a tie-down strap.
Inspect the entire length of the webbing for:
- Cuts
- Tears
- Punctures
- Significant abrasions
- Melted spots from heat or friction
If any of these are present, remove the strap from service immediately and replace it with your preferred Keeper ratchet strap or cam buckle.
Worn or Broken Stitching
The stitching that secures the hooks and forms critical load-bearing connections is just as important as the rest of the webbing.
Look for:
- Loose threads
- Broken stitches
- Sections pulling apart
- Stitching that has worn through
If the structural stitching is compromised, the strap should no longer be used.
UV Damage
Tie-down straps that spend long periods exposed to sunlight can gradually weaken over time.
Signs of UV damage include:
- Faded color or discoloration
- Dry or brittle texture
- Stiff and inflexible webbing
- Cracking fibers
If the strap feels noticeably brittle or shows significant weathering, it's time to replace it.
Step 2: Check the Hardware
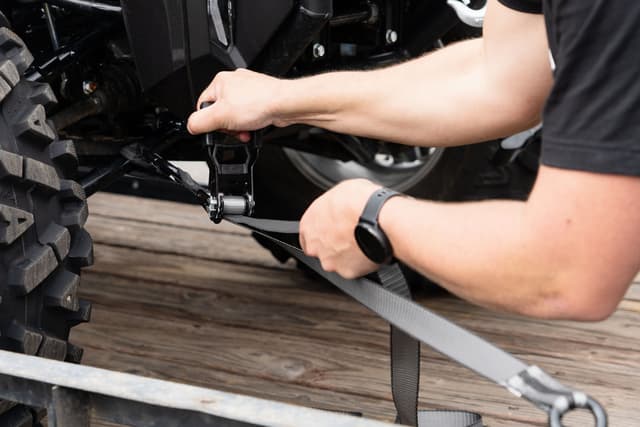
The strongest webbing in the world won't help if the hardware has been damaged. A ratchet or cam buckle is a system where all parts function together, so it's only as strong as its weakest link.
Carefully inspect every metal component before each trip.
Ratchet Mechanism
Check the ratchet or cam buckle for any loose dirt or debris. If necessary, quickly rinse or brush off any mud, dirt, or debris from the ratchet or cam. Open and close the ratchet or press down on the cam lever several times.
It should:
- Move smoothly
- Lock securely
- Release properly
- Fully engage the gear teeth
Watch for:
- Excessive rust or corrosion
- Bent or broken handles
- Damaged gears
- Dirt or debris preventing smooth operation
If the ratchet doesn't operate correctly or meets any of the "watch for" criteria, we recommend that you replace it as soon as possible. Trying to repair any broken or damaged products is very dangerous and not recommended.
Hooks
Hooks experience tremendous force while securing cargo.
Inspect each hook for:
- Unintended bending or twisting
- Cracks
- Excessive rust or corrosion
- Worn safety clips (if equipped)
Never attempt to bend a damaged hook back into shape. Replace the entire strap assembly instead.
Hardware Connections
Where the hardware attaches to the webbing, ensure there are:
- No loose rivets or connection pieces
- No movement that shouldn't be there
- No signs the connection is pulling apart or failing
These attachment points carry the full load during transport.
Step 3: Verify the Product Label
Many people overlook the label—but it's one of the most important parts of the inspection.
The sewn-in label provides critical information, including:
- Working Load Limit (WLL)
- Break Strength
- Manufacturer information
- Product warnings
- Use instructions
If the label is missing or has become unreadable, the strap should be removed from service. Without a legible label, you can no longer verify that the strap is appropriate for the load you're securing and the strap will violate DOT, FMCSA, CVSA, and for lifting slings OSHA, regulations and guidelines. Straps without labels will be regarded as a "Zero" Working Load Limit, and should be replaced.
When Should You Replace a Strap?
As a general rule, if you question whether a strap is safe, replace it.
A new ratchet strap costs far less than damaged/broken cargo—or the consequences of a load shifting and coming loose on the road.
Replace any strap that has:
- Significant fraying
- Cuts or tears
- Burned or melted webbing
- Broken structural stitching
- UV damage that makes the webbing brittle
- Rusted or seized ratchets
- Bent, cracked, or heavily corroded hooks
- Missing or unreadable product labels
Never tie knots in a damaged strap or attempt to repair load-bearing webbing or hardware. Once a tie-down has been compromised, it should no longer be used for cargo securement.
Make "Tap the Strap™" Part of Every Trip
The best cargo securement routine doesn't end when the ratchet clicks into place.
Before you pull away:
- Walk around your vehicle and trailer to inspect all aspects of it.
- Confirm each strap is routed correctly and properly tensioned.
- Verify hooks remain fully seated in secure anchor points.
- Give each strap a quick tug—or "Tap the Strap™"—to reinforce the habit of checking your securement before hitting the road.
For longer trips, stop after the first few miles to recheck your tie-downs, then inspect them periodically throughout your journey. Road vibration and cargo settling can reduce strap tension over time.
A One-Minute Inspection Can Prevent a Big Problem
A tie-down strap works hard every time you use it. Dirt, weather, heavy loads, and repeated tension all take their toll over time.
Taking just a minute before every haul to inspect the webbing, hardware, and product label can help you spot damage before it becomes a safety issue.
Combined with proper load securement practices and following the product instructions, this simple inspection routine helps protect your cargo, your equipment, and everyone sharing the road.
Because every safe trip starts before the wheels start turning—and sometimes all it takes is to Tap the Strap™.